Make a stunning Christmas Tree Croquembouche with cream puffs, caramel, and festive icing. A show-stopper dessert perfect for holiday parties.
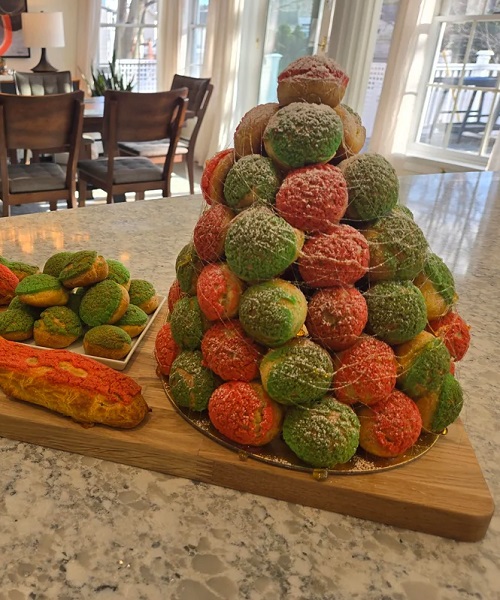
A Christmas Tree Croquembouche is a fun and festive holiday dessert made with cream-filled puffs stacked into a tree shape. It looks impressive, but is easier than it seems. This sweet treat is perfect for Christmas parties and family gatherings and adds a special touch to your holiday table.
Christmas Tree Croquembouche
Ingredients
Equipment Needed
- 2 piping bags
- a large round tip
- a small round tip
Pâte À Choux
- 1 cup whole milk
- 2 Tbsp. granulated sugar
- 2 cups (240 g.) all-purpose flour
- 1 tsp. kosher salt
- 6 large eggs, beaten to blend
- 3/4 cup (1 1/2 sticks) unsalted butter
Whipped Cream & Icing
- 2 cups heavy cream
- 3 Tbsp. whole milk
- 2 Tbsp. corn syrup
- Green food coloring
- Nonpareils, for decorating (optional)
- 2 cups (225 g.) confectioners’ sugar
Caramel
- 1 store-bought star-shaped sugar cookie
1 cup (200 g.) granulated sugar
Instructions
- Preheat the oven to 425°F. Place one oven rack near the top and one near the bottom.
- In a medium pot, add the milk, butter, sugar, and ½ cup of water. Cook on medium heat and stir often. When the butter melts and the mixture starts to gently bubble, remove from the heat.
- Add the flour and salt. Stir well until the dough comes together and leaves a thin layer on the bottom of the pot. This takes about 2 to 3 minutes.
- Move the dough to a large mixing bowl. Beat with a mixer on medium speed until the dough cools down and is no longer warm. This takes about 8 minutes.
- With the mixer running, slowly add the eggs. Keep beating until the dough looks smooth and shiny. When you run your finger through it, the line should stay. The dough will be slightly sticky.
- Spoon the dough into a piping bag with a large round tip. Pipe small circles about 1½ inches wide onto baking sheets lined with parchment paper. Leave about 2 inches of space between each one. Wet your finger and gently smooth any pointy tops.
- Bake for 10 minutes. Then lower the oven temperature to 375°F. Bake for another 18 to 20 minutes until the puffs are deep golden brown. They should sound hollow when tapped on the bottom. Let them cool completely.
- You can make the puffs one day ahead. Store them in an airtight container in the refrigerator until ready to use.
Whipped Cream & Icing
- In a large mixing bowl, beat the cream with a mixer until it becomes thick and holds stiff peaks. Place it in the refrigerator and chill for about 20 minutes.
- Put the whipped cream into a piping bag with a small round tip. Use a small knife to make a tiny hole in the bottom of each puff. Insert the piping tip and fill each puff with whipped cream. Place the filled puffs back on the baking sheet.
- In a medium bowl, mix the powdered sugar, milk, and corn syrup until smooth. Add 1 or 2 drops of green food coloring and stir. Add more coloring if needed until you get the color you like.
- Dip the tops of the filled puffs into the icing and place them back on the baking sheet. If using sprinkles, add them on top. Let the puffs sit for about 30 minutes, or until the icing becomes firm.
- The icing can be made up to 2 days ahead. Cover it with plastic wrap, pressing the wrap directly on the surface so it does not dry out, and store it in the refrigerator.
Caramel & Assembly
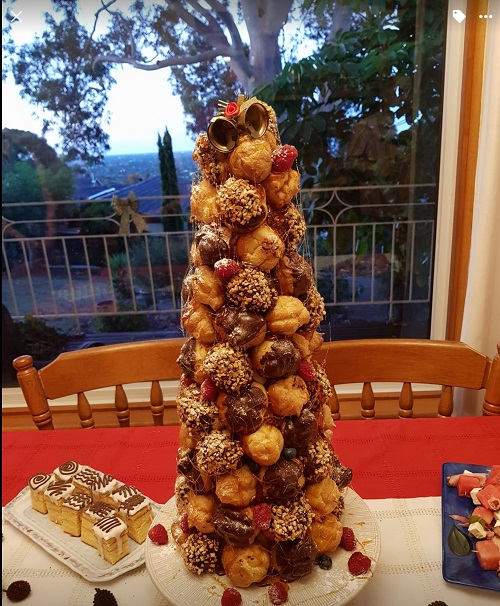
patisserie_poupon
- Dip the bottom of each cream puff into the caramel and press it against the cone with the icing facing outward. Hold it for a few seconds until the caramel sets.
- Keep adding puffs around the cone and work your way upward. If the caramel becomes too thick, warm it again on low heat until it softens.
- To fill empty spaces, slightly tilt the puffs or dip their sides in caramel so they stick to the cone or to another puff.
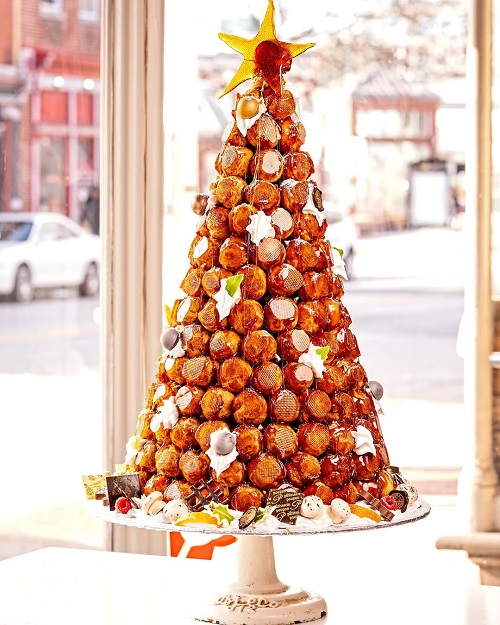
- Dip a sugar cookie into the caramel and place it on top of the cone. Hold it in place until it hardens. Add a few cream puffs around it if needed to help support the cookie.
- Dip a fork into the warm caramel and quickly swirl it around the tree to make thin caramel strings.
- To serve, gently pull the cream puffs off the cone, or use a knife and spoon to loosen and remove them.